Interior installation & refurbishment
Specialist in kitchen and bathroom fitting, bespoke interior installation and house and office
Ideas, advices and practical information
Wooden worktops
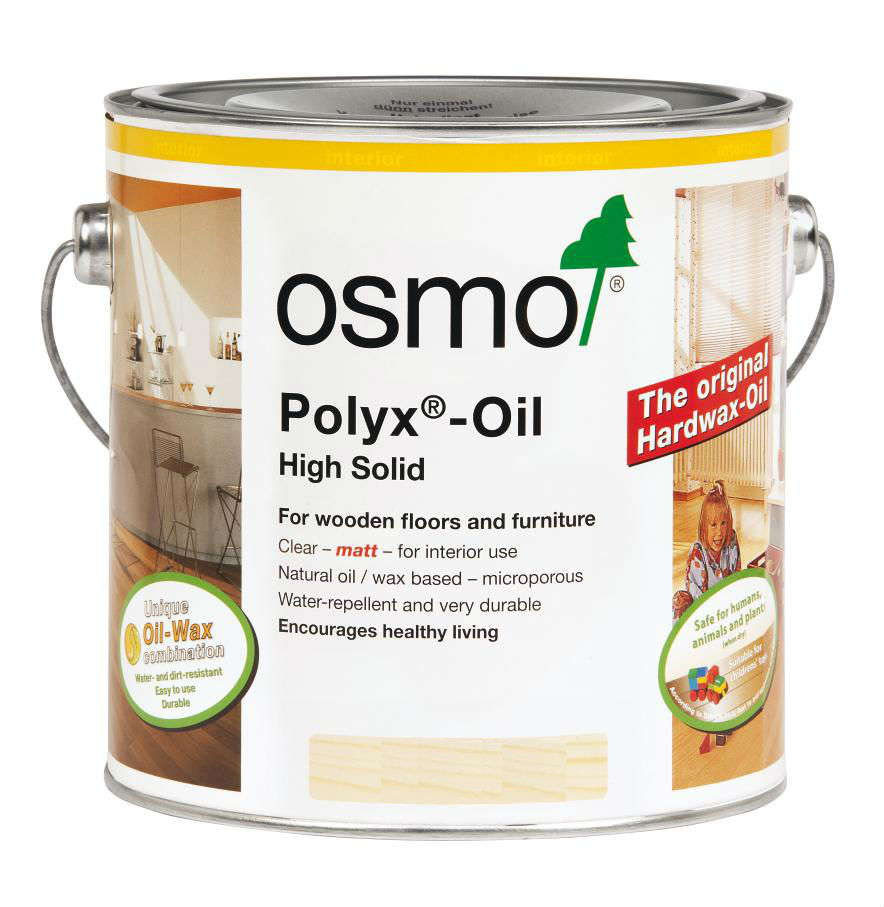
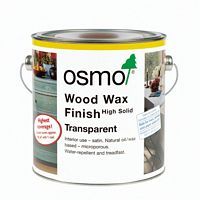
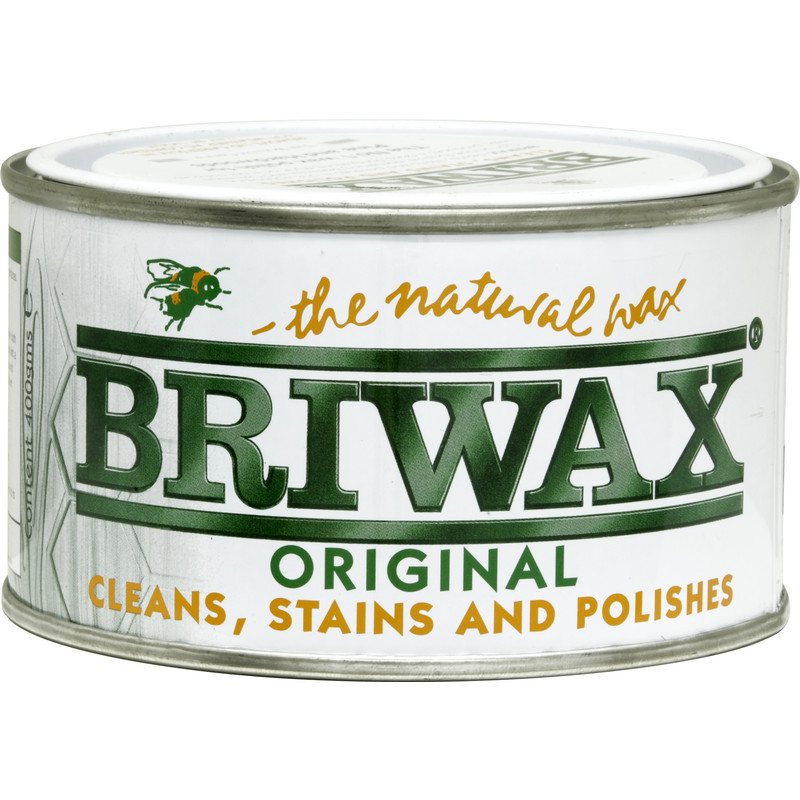
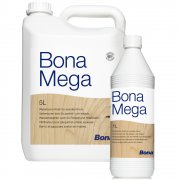
Wooden is one of the most stylish and most beautiful materials. Also because it’s natural it needs bit of extra attention. Particularly wooden worktops, as they are in very close contact with water. There is wide variety of wood you can use, from oak and beech to tropical types and bamboo. Beech is bit notorious as it expands most in damp conditions but with sensible use there is nothing to worry about. On the other hand bamboo is extremely hard and stable. But character of wood is not a subject i want to talk about here. Let’s go back to what finish to use. In rented properties i prefer Polyurethane Floor Varnish in matt finish. That creates hard wearing finish and in matt or semi matt version almost invisible. The main advantage is, it requires almost zero maintenance. For real wood lover there is a oil finish that makes the wood texture stand out and lets you feel the natural character of wood. The down side is it might absorb some spillage such as red vine, coffee etc. But only to certain depth as a film of the oil does it let it go very deep. Then a light sand brigs it back to the original look. Oil finish requires regular ‘top up’ depending on how much and how hard is the worktop used. The last option is a wax which is king of transition between oil and varnish. Wax leaves gentle film but doesn’t allow anything going deeper into the wood grain. Also wax needs topping up even though not so regularly as oil. There is no good and bad here, every finish has its own advantages and only depends on personal preference.
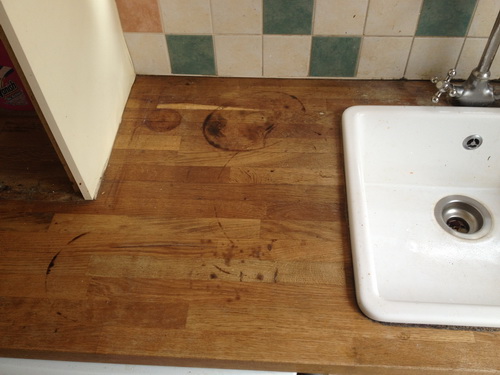
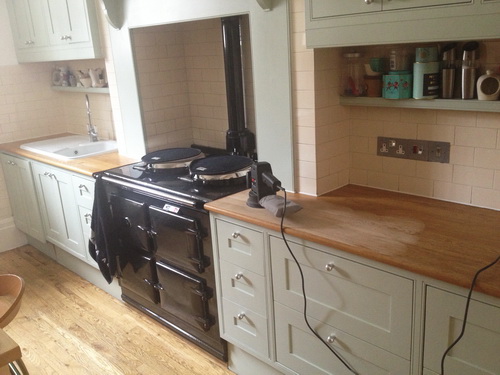
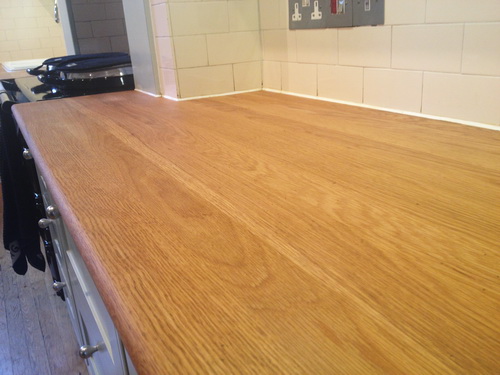
In terms of maintenance this applies to any wood surface including wooden floors. Never let wood to turn grey or black thanks to water penetrating too deep. Don’t put too hot objects on the surface. Although, even if you forget , sometimes with bit of luck everything is repairable as pictures bellow show.
When you decide to do sanding yourself, stick with couple of basic rules. Sanding should be done typically in at least 3 faces starting from rough sand and ending with very fine. For the first step don’t go for a very rough sandpaper! 60G is usually more than enough. Then 80G and end with 100 or 120 G
Use either random orbital sander or belt sander. Vibrating sandes unles they're heavy duty professional grade are not going to be much of a help.Sand always the wood grain direction. It’s always good to do the final sanding face by hand again in the wood grain direction. This helps you to avoid creating any scratch marks that might show after finish coating.
Applying coats:
Oil and varnish is applied with a good quality brush that doesn’t loose hair. After the first coat is dry, check surface for any roughness. Very often is necessary to sand off tiny wood hair standing up as wooden surface was wet treated. Swift one direction motion with 120G sand paper by hand takes just few minutes. With a damp cloth dust off any particles. Then you carry on with the second and the third coat until required finished is achieved.
Wax take bit more effort as that is applied with a cloth and kind of worked in. Typically in 3 coats. After few minutes you’ll get the knack of it, it’s actually better when the wax warm up by friction. It’s important to really wax it in and for the final coat even use a buffer. The finish should be smooth, compact and with soft sheen.
Good quality waxes,oils nad varnishes
How it works

![]()